
Wednesday, December 8, 2004
Sample: Pumping the Brake
Extracted from Lesson #2: Intermediate Trail Skating
Pumping the Brake
Stopping on trails is different then stopping in a controlled environment like an outdoor rink or schoolyard. On a trail you have to contend with obstacles such as broken branches, puddles of water, people walking, and so on. Sometimes you can turn to avoid such obstacles, but other times you need to come to a complete stop in a hurry.
When you have to stop completely, you need to be able to pump your brake, much like you do when you approach a stop sign or red light while driving your car.
To apply your brake the first time:
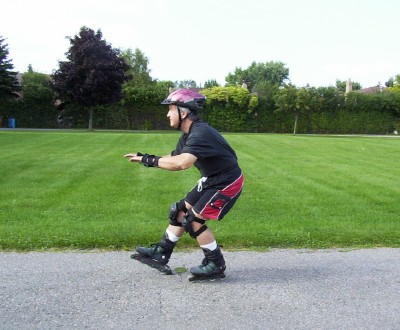
- Move into a staggered stance.
- Bend forward at the hips and knees.
- Extend your braking skate forward.
- Lift your toes up in the front of your braking skate.
- Press down on the brake with your heel to slow down.
To return to the staggered stance:
- Release your brake.
- Drop back into a staggered stance.
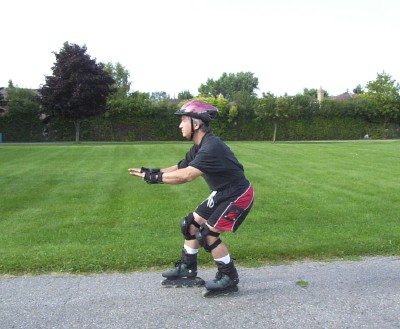
Skater back in a staggered stance after releasing the brake
To apply your brake a second time:
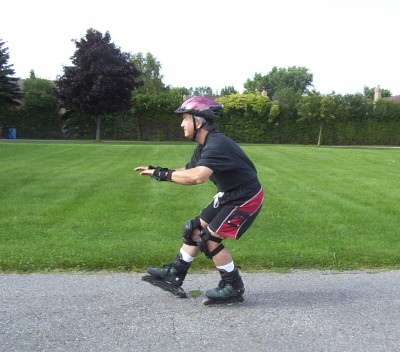
- Bend forward again at the hips and knees.
- Extend your braking skate forward a second time.
- Lift your toes up in the front of your braking skate.
- Press down with your heel to slow down even further.
- Continue to release and pump the brake until you come to a complete stop.
Sometimes, you may find that when you apply your brake you tend to spin around or swerve to the right or left. This usually means that there is an imbalance between your front and back skate. Try to maintain 60% of your balance on the front skate and 40% on the back skate. This keeps you in a straight line as you brake.
If you employ only 40% or less of your balance on the front skate and 60% or more on the back skate, the skate at the rear tends to take over in terms of stirring, and causes you to turn or skid to the right or left, which is undesirable.